

The Ultimate Brand Photography Workflow: From Shoot To Proofs
- Kayleigh King
- Mar 26
- 5 min read
Updated: Apr 15


As a brand photographer, delivering a seamless experience for my clients starts long before the final images land in their inbox.
From culling to delivering proof galleries to editing, an efficient workflow is key to saving time and maintaining a professional level of service.
If you're a photographer looking to streamline your process, this article will walk you through my step-by-step workflow for processing brand photography shoots.
I'm including some affiliate links in this post when I recommend software or products but I've not been paid or asked to do so.
Step 1: Uploading & Organizing Your RAW Images
After a shoot, the first thing I do is back up my images on my external hard drive, in a folder named after the client along with a date, in another folder called ALL RAW. Seagate is the brand I generally use for external hard drives - [paid link], which syncs with my Backblaze Cloud Storage.
No photos are deleted from my memory cards until after final gallery is delivered.
I always recommend storing your files in multiple places to avoid any data loss.
01.01.2025 Client Name - base folder and within it I have (I'd recommend keeping the numbers so the folders stay in order and don't default to alphabetical):
ALL RAW
CULLED RAW
PROOFS
HIGH RES
LOW RES
BTS (not always included depending on shoot)
GIFS (not always included depending on shoot)
Step 2: Fast Culling with Narrative Select
Culling used to be one of the most time-consuming parts of the process for me, but Narrative Select has been incredible.
It's the exact tool I didn't know I needed early on in my career but I'm soooo glad I found it! I can't even tell you how many hours I've saved since switching over.
Instead of manually sorting through hundreds of photos in Lightroom (like I used to do), Narrative Select helps me quickly identify the best images by detecting sharpness, eye contact, and facial expressions.
Here's why I love it and will NEVER be culling in Lightroom again:
✓ It loads the RAW images very quickly
✓ It flags blurry or duplicate images so I can skip over them
✓ AI-powered face detection helps me pick the best expressions
✓ I can rate, tag, and color-code images and those carry over to Lightroom
✓ Once I've finished my selections I can ship them over to Lightroom seamlessly
Step 3: Prepping Proofs for Clients in Lightroom
Narrative makes it almost too easy to ship to Lightroom - I'm so grateful!
Once they're shipped over I have a look and sometimes will do a quick edit if the RAW image doesn't come close to reflecting what the final image will look like - but I often send them without an edit, meaning I can get my clients their proof galleries back really quickly - something they LOVE and care about more than having their proofs edited.
Then I export the jpg proofs at about 800 pixels long edge into my PROOFS folder on the hard drive but make sure to not change the file name - this is important!
Step 4: Proof Gallery Delivery via Pixieset
For my brand photography clients, choosing their final images is a collaborative process.
The first time I learned of the proofing process from another photographer, I was so uncomfortable at the idea of showing clients unfinished photos - but in a way it helped me take better images and now the time saved out-weighs the discomfort - in fact I'm now fully comfortable with it.
I use Pixieset for my online proofing and final galleries, giving my clients prompts to select their favorite images before I start editing.
How it works:
Upload jpeg proofs I exported from Lightroom into Pixieset - use my link for $20 off your first bill!
Send the proof gallery to the client for review
Clients select their fave images to be edited
Using a proof gallery cuts down on unnecessary editing and ensures that clients get exactly what they need - I actually love how it keeps them an active participant in the process and keeps me from choosing images they don't actually like..
Step 5: Editing in Lightroom Classic
Once the client selects their favorite images, I use my favorite Pixieset feature - Copy Lightroom List and paste them into the Lightroom search bar making sure that the dropdown is switched from "contains all" to just "contains."
From there, I color code their proofs as purple - which in my brain means "picked by client". That way if I want to gift them any extras I know which ones I added and which were their original faves.
Then I apply my branding preset and adjust as needed - mainly exposure, straightening, and white balance, although since Photoshop AI has improved, I have often used it to remove distractions in the background - loving the ease that the AI has created in the editing process!
Sometimes, depending on the project, I even use AI to edit the whole final gallery and it can actually do a great job! I do this more often when I have loads of edits piling up and I need to save the time. When I opt to do this I use Imagen AI - get 1500 free photo credits using my link! Even when I use this method I still go through each photo to make sure I'm happy with the edit.
Step 6: Final Image Delivery with Pixieset
Once edits are complete, I export from Lightroom to my hard drive and deliver the final images using Pixieset.
From there clients have the option to download both the High-Res and Web-Sized images depending on their needs.
I only allow full gallery downloads rather than individual images as I want to make sure right from the start that they have ALL their photo.
Step 7: Client Outro Emails
I always follow up with a post-shoot email series, thanking them for their trust and offering any guidance on using their new brand images effectively! Here's what's included:
profile updates
content prompts
service directory
where to use
photo SEO
permission to show up
follow up
blog feature
3-month check-in
Want to Learn More?
If you’re a brand photographer looking to optimize your workflow, this process has helped me save time, stay organized, and create a smooth experience for my clients.
If you want more behind-the-scenes insights, check out my YouTube video on this workflow:
Or if you’d rather get 1:1 guidance tailored to your business, book a mentoring session with me today.
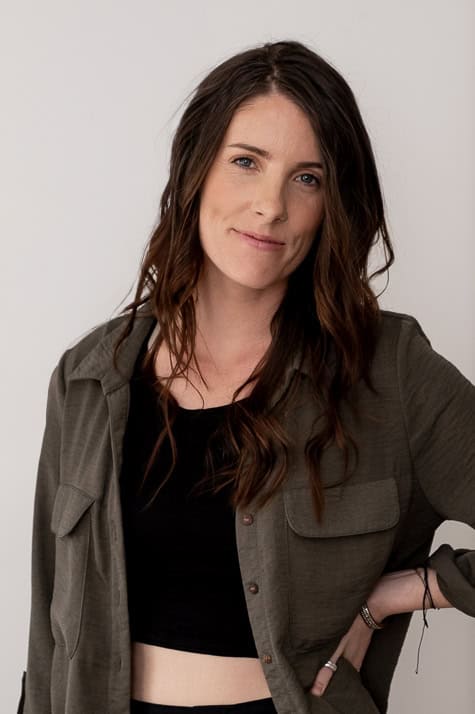
Are you looking to book a personal brand photoshoot?
I'm here to guide compassionate entrepreneurs like you through fun and relaxed personal branding photoshoots that boost your confidence and save you time with loads of gorgeous content. Together we plan your shoot around your story and passions to build trust and connect you to other beautiful souls by showcasing the authentic you.
Check out what's involved in Personal Brand Photoshoots reach out when you're ready to learn more!


